Ask your AI to add a contact form to the page, or, if the page already has a form, open it in the editor, point at the form and click Make form work. Choose Email me or Save in dotsy, click Connect form, then publish.
dotsy handles the sending: you don't need Formspree, a plugin or your own server. Your email address stays in the site's settings and never appears in the page, so scrapers can't pick it up.
Add a new form with your AI
- Connect your AI to dotsy if you haven't yet: How do I connect dotsy to Claude, ChatGPT or Cursor?
- Ask it, for example: "Add a contact form with name, email and message to my Contact page. Send messages to me@example.com and show a thank-you message after sending." Your AI builds the form and connects it to dotsy as a draft.
- Check the draft preview, then publish (below).
Make an existing form work
Forms copied from another site, or written by an AI without dotsy, often send to nowhere. Connect them in the editor:
- Open your site in the dashboard, click Edit and go to the page with the form. Point at the form: a Make form work button appears above it. Click it.
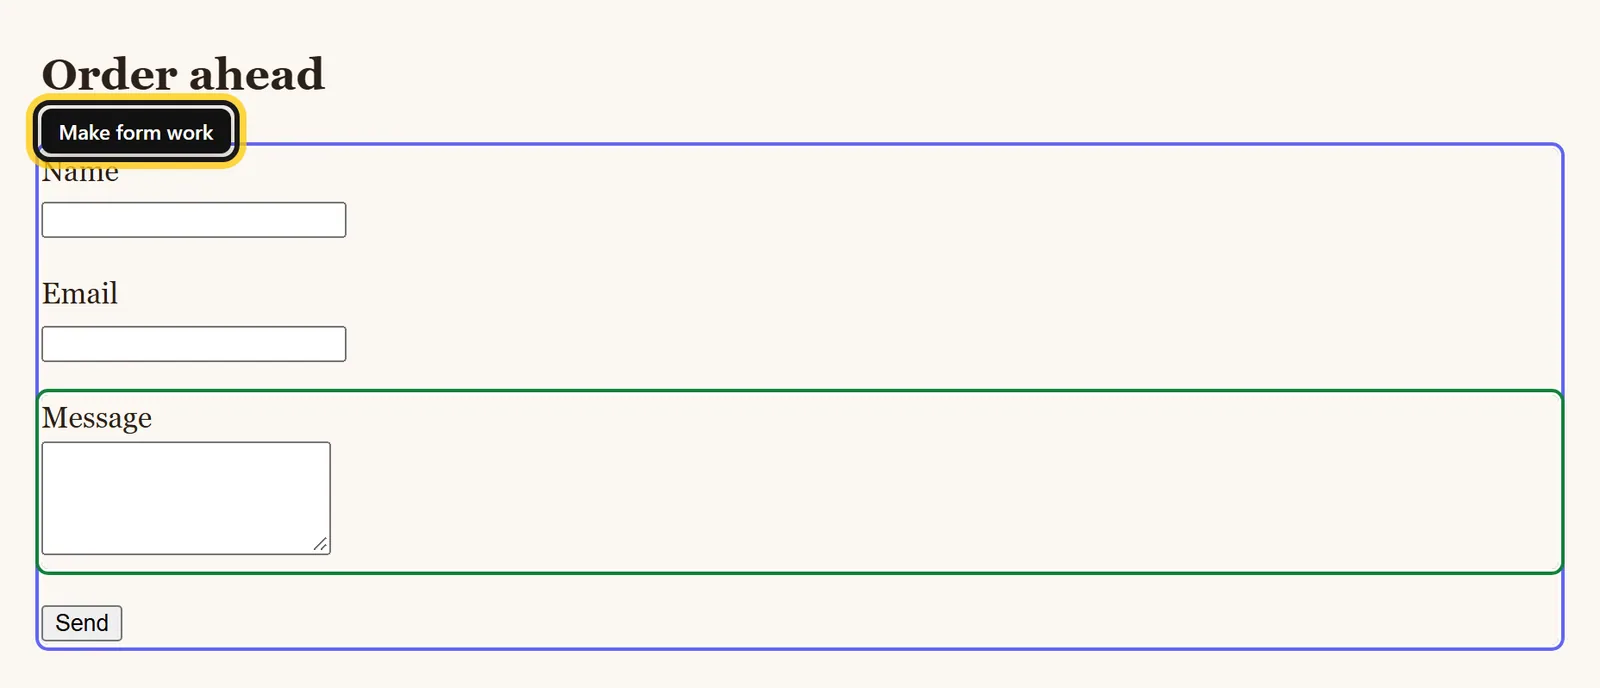
In the editor, point at the form and click Make form work. - In Make this form work, choose where submissions go: Email me sends each one to your inbox, Save in dotsy keeps them in the dashboard. You can turn on both.
- Type your address under Send submissions to. Optionally set an Email subject and, under After submit, choose Show message on this page (with your Success message) or Go to another page. Click Connect form.
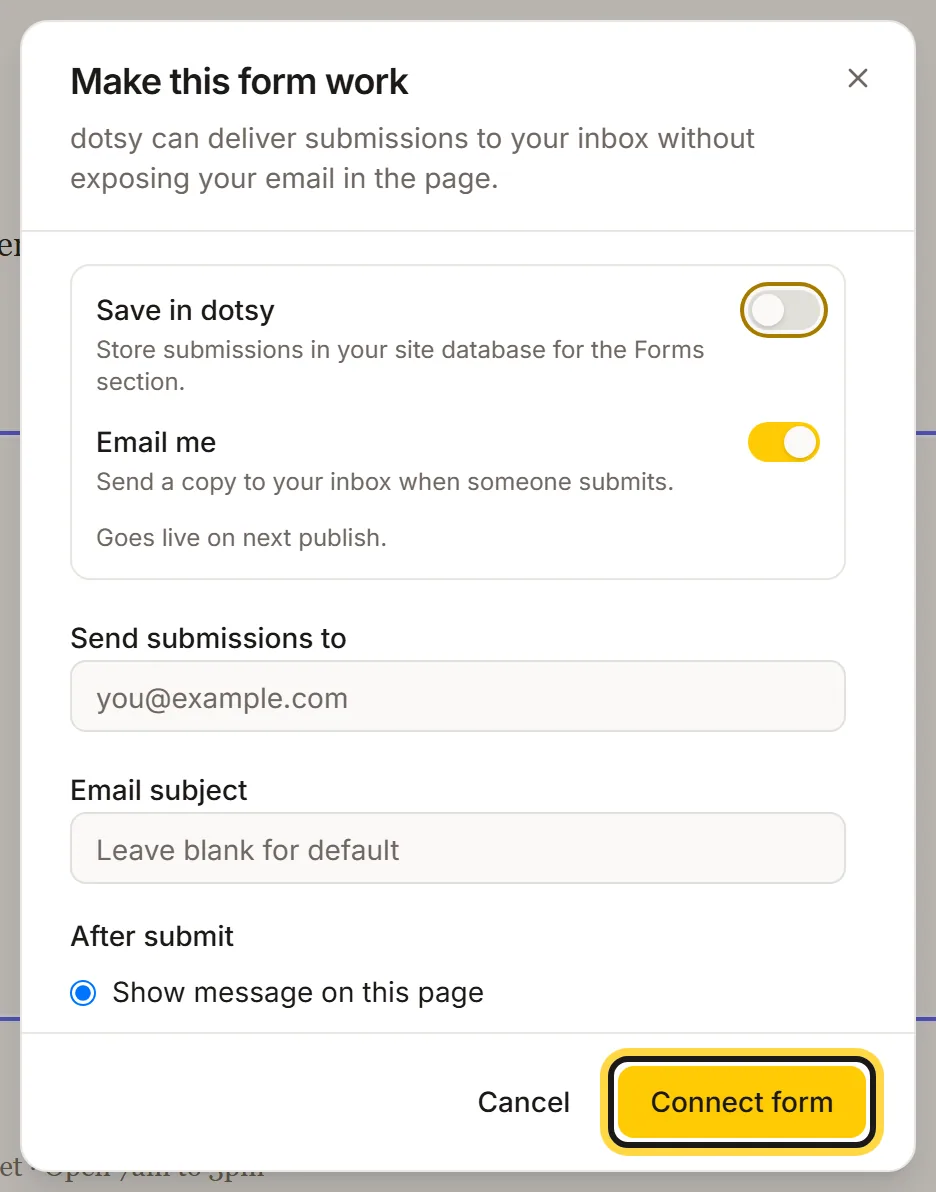
Choose where submissions go, type your email, then click Connect form.
Once a form is connected, the button above it says Form settings: click it to change these settings later. Your visitors' field labels and the button text stay editable on the page like any other text.
Publish and test it
- Publish your site: click Publish in the top bar, then Publish in the panel. The form settings work on the live site from this publish on (Goes live on next publish.).
- Open your live page, fill in the form and send it. You get the email, or see it in the dashboard.
- To read saved submissions, open your site and go to Customers › Forms. Export CSV downloads them.

Customers › Forms lists what visitors sent.
This form isn't a contact or signup form.
dotsy only connects forms that send a message or a sign-up: ones with an email field or a message box and a send button. Search boxes, logins and filters stay as they are.
Turn on Save in dotsy or Email me so submissions have somewhere to go.
Both switches are off. Turn on at least one and, for Email me, type a valid address under Send submissions to.
The form works in preview but not on my live site
The settings aren't published yet. Publish the site, then try again. If the page shows the old version, see Why isn't my site updating after I publish?
FAQ
My form sends to Mailchimp or another service. Can I keep that?
Yes. For a form that already posts to another service, the editor shows Keep external and Connect to dotsy. Keep external leaves it as it is; Connect to dotsy sends submissions through dotsy instead.
What about spam?
dotsy filters common spam bots automatically, for example forms filled in by a script in a fraction of a second.
Can visitors attach files?
Not yet. File fields in a form aren't sent.